# Part 7. Installing Qsee Plugins
The Qsee.Plugins package is a unified installation bundle that includes all the plugins described in the documentation. Once installed, all components will be available under the Qsee tab on the Revit ribbon.
Included in the installation package:
* **Account** — links a Qsee account to Revit
* **Model Link** — links a Revit model to a project on the Qsee platform
* **Taxonomy File** — generates a classification (taxonomy) file
* **Shared Parameters** — creates a shared parameters file
* **Asset Class Assignment** — assigns classification classes to model elements
* **Add Parameters** — adds parameters to families based on the parameter-to-class matrix
* **Create Asset Schedules** — generates schedules based on the classification structure
* **Export Asset Data** — exports model data to the Qsee platform
* **Model Audit** — performs automated Revit model compliance checks
{% stepper %}
{% step %}
To install the Qsee.Plugins, which are combined into a single installation package, use the **Qsee.Plugins Installer**.
{% endstep %}
{% step %}
Before installation, ensure that Revit is closed. This is required for the plugins to be integrated correctly.
{% endstep %}
{% step %}
Launch the installer: **Qsee.Plugins Installer.exe.**
{% endstep %}
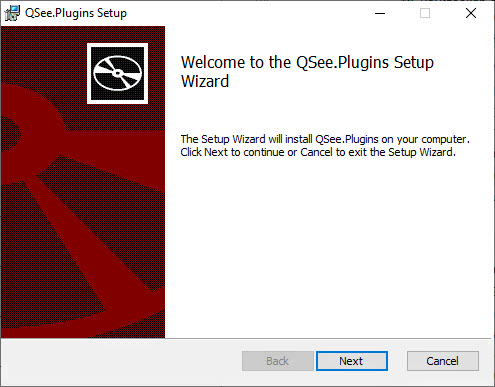
{% step %}
In the installation wizard that appears, click **Next** to proceed to the next step.
{% endstep %}
{% step %}
Click Install to begin the installation process. Wait for all files to be copied and components configured.
{% endstep %}
{% step %}
Once the installation is complete, click Finish to close the installer.
{% endstep %}
{% step %}
After installation and restarting Revit, all plugins will be available in the Qsee tab on the Revit ribbon.
{% endstep %}
{% endstepper %}